At-Home Custom Hair Color Kits
$55.00
What is a Custom Color Kit?
Can't make it to the salon? Eva's custom color kits are formulated with the same premium hair color we use professionally and according to your unique color formula. Every color kit is formulated and filled by Eva and her team, just like we do at the salon. The only difference is that you apply it yourself (perhaps with the help of a friend). For added shine and longer-lasting color, select the Base Color + Glaze option in the dropdown below and save $10 on your order! Select the subscription option to have your orders on auto-ship every 3, 4, 5, or 6 weeks. You may also purchase a virtual color/cut consultation with Eva to assist with your color formulation and to ask her any other questions about your hair.
Photo Instructions
Photo Instructions
If you're placing a first-time color kit order, please upload photos of your hair using the links at the bottom of this page. The only exception is if you have seen Eva personally for color in the last few months. Even if you see one of our other salon colorists, Eva would like to confirm via photos that your formula is correct as entered in our database. This also applies if you've purchased a base color kit previously without photos and are placing a first-time Glaze order. The photos should be taken in natural daylight (if possible, outdoors) and should show:
1. A close-up of your hair part where your roots are clearly visible.
2. A full headshot with a complete view of your face and hair.
3. Other angles of your hair as you see fit.
Up to 6 photos may be uploaded with each order, and the more angles you can show, the better.
Ordering Guidelines
Ordering Guidelines
When placing your order, please select either base color or glaze from the dropdown menu below. If you're ordering both, as many do, you may need to use the back arrow after adding one of them to the cart.
As we are receiving many orders from those who are not recent clients of the salon, we have added the option of a virtual FaceTime color consultation with Eva. Even though most such orders are being formulated based on photos alone, the virtual consultation assists with this process and gives you the opportunity to ask Eva any additional questions about your hair, color, or otherwise.
Color Kit Contents
Color Kit Contents
Each color touch-up kit is good for one application and includes:
- 1 container of your custom color
- 1 container of developer to mix with the color
- 1 brush for color application with your first order only. Please do not discard the brush after use, so you can continue using it for any additional color orders, as we have a limited supply at this time (a brush can last for years).
Application Instructions
Application Instructions
We recommend that you begin by watching Eva's color application video on this page.
Application Instructions for Base Color:- You will receive two containers, one with color and another with developer. Do NOT open these containers until you’re ready to apply your color. The less exposure to oxygen prior to use, the longer the product lasts.
- Mix the contents of the two containers completely in a ceramic or glass bowl (do not use a metal bowl; the color will not permanently stain glass or ceramic). Do NOT try to use only a portion of the color mixture included as this is a custom formula and there is more than one color in the container. Therefore, each must be fully incorporated to achieve the desired result.
- Mix the color and developer thoroughly with the brush to achieve a creamy consistency.
- Sit in front of a mirror and start application first at the top of the head, separating your hair into approximately ¼” sections (the way you’ve seen us do at the salon).
- Apply color with the brush to ONLY the root area of each section. Try not to overlap the color on your previously colored hair, as that may cause “banding” or sections that are darker than the rest of the hair.
- Apply color first to the top and sides of the head and to the hairline last. This is important because the hairline has a finer texture and processes more quickly. If you have someone in your home who is patient enough and doesn’t mind playing colorist, you can ask them to apply the color to the back of your head. However, the top, front, and sides are most important to cover, as those are the parts of your hair that you notice.
- Set an actual timer for 30 minutes to allow the hair to process.
- At 28 minutes, start getting ready to get into the shower for proper color removal. Do NOT attempt to wash this out at the kitchen sink. Not only do you need stronger water pressure to effectively remove the tint, but you also don’t want to risk the color running into your eyes.
- Rinse your hair for a solid 5 minutes before you shampoo. Shampoo twice, making sure to rinse thoroughly between each shampoo.
- Condition and style as usual.
- Hold on to your brush for any future applications. You will only receive a brush with your first order, as we have a limited supply at this time.
- Mix the contents of the two containers together as in the base color instructions.
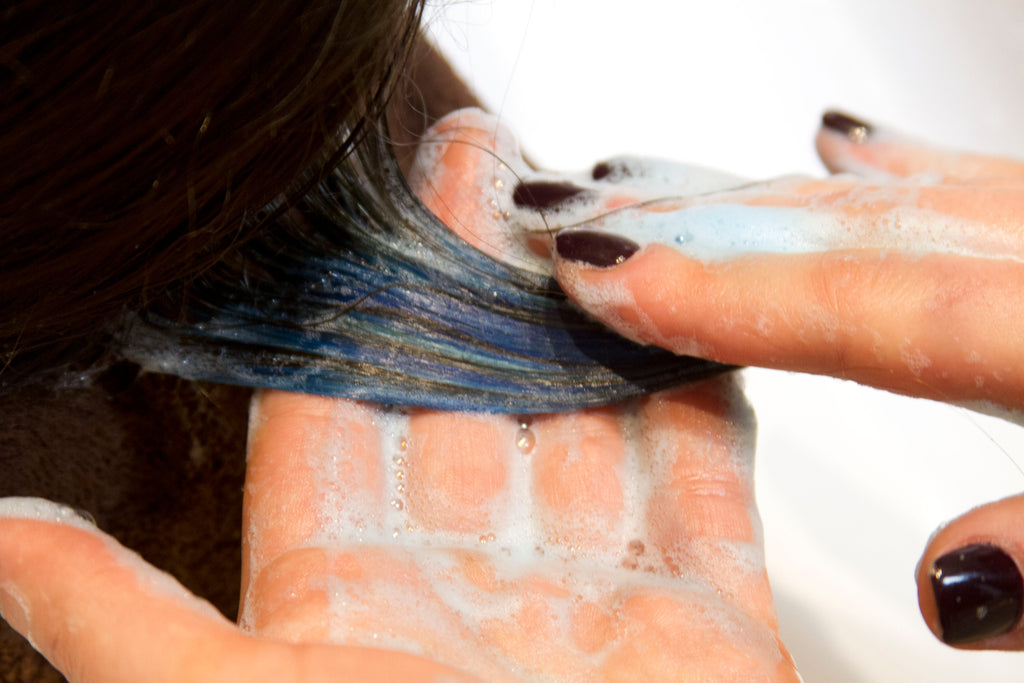
- Apply glaze to washed and towel-dried (damp) hair.
- Mush it around with your hands to fully cover the hair with the mixture, gently massaging the glaze into the scalp and through the ends to ensure proper coverage.
- Allow to process for 5 minutes.
- Shampoo and condition hair.
Pro tip: Don’t wash your hair for the next 72 hours so the cuticle can fully close after applying both base color and glaze. It is also best to wait 72 hours between base color and glaze applications.
Related Items

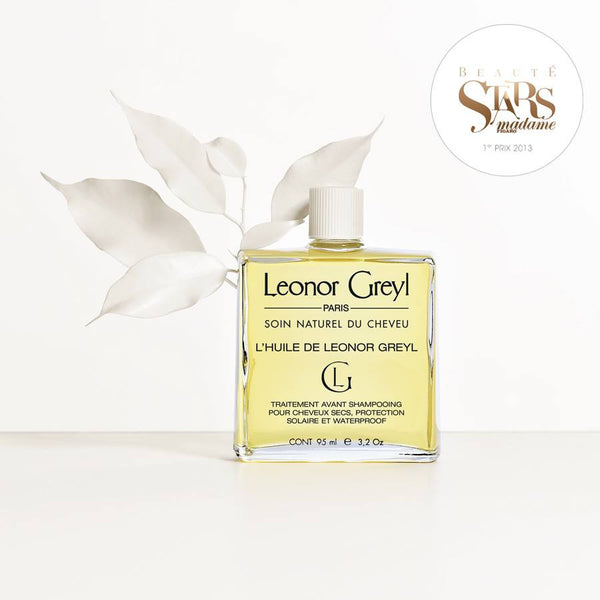
L'Huile de Leonor Greyl
$60.00
Formerly 'Huile de Palme', this pre-shampoo oil treatment is most effective if applied to dry hair. It is most effective if applied prior to applying a shampoo or treatment. It is a multi-purpose blend of botanical oils that facilitate detangling, while protecting and nourishing your...

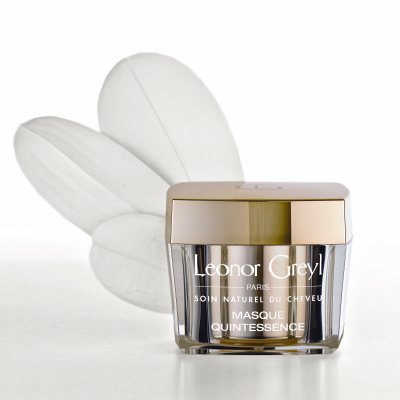
Masque Quintessence
$147.00
Cupuacu and Manketti nut oils deeply moisturize and regenerate the driest most damaged hair. Repairs hair after bleaching, highlighting and straightening. Gives immediate and long-lasting softness, shine and easy styling.


Total Eclipse BB Cream
$57.00
Skin Perfector Tinted Moisture UV Protection Paraben Free - Chemical Free Age Fighting Antioxidant Protection This beautiful skin treatment is a makeup wonder that blends together the benefits of a moisturizer, foundation, anti-aging souffle, and sun protection - all in one easy, single step. Total...